Generate Professional Product Images with AI Without a Studio (2026)
How do you produce studio-quality product visuals with no photographer and no budget? A practical guide to generating professional product images with AI tools in 2026: prompts, models and workflows.
SociaLover Team · Updated · 15 min read
AI product photography turns one phone photo of your product into studio-grade images in four steps: prep the reference, remove the background, place the product in a generated scene, export per placement with the text on top. In SociaLover that is Background Remover, Product Studio or Creative Designer, and Creative Resizer; a batch of ten variations takes 5 to 30 minutes instead of a one to three day shoot.
This guide shows you how to generate believable, polished product images that are ready for advertising, using the AI tools available today, and where a camera is still needed.
Photo studio
$500 to $5,000 (quotes we received)
1 to 3 days
Generative AI
Billed in tokens, included in your plan
5 to 30 minutes
Difference
No studio, no photographer, no set to book
Minutes vs. days
| Model | Vendor | What you reach for it for |
|---|---|---|
| FLUX.2 | Black Forest Labs | The packshot workhorse, in 1K for drafts and 2K for delivery. Up to four reference images to hold the product |
| FLUX Kontext | Black Forest Labs | Editing a render you already have from a plain-language instruction: new background, new surface, same product |
| Nano Banana Pro | The quality tier of the Gemini family: native 4K, editing from an instruction, the best text rendering in the catalog | |
| Nano Banana 2 | Native 1K, 2K and 4K at about half the price of Pro. The one to pick when the creative has to hold up large | |
| GPT Image 2 | OpenAI | Three quality tiers on the same prompt (1K, 2K, 4K) and legible text on packaging |
| Seedream 4.5 | ByteDance | A warmer, more editorial reading of the same lifestyle brief, in 2K or 4K at a flat price |
| Kling O3 Image | Kling | Text to image with strong consistency between renders, up to 4K |
| Recraft V4.1 | Recraft | Design and vector output: icons, packaging mockups, flat graphics rather than photographs |
Whichever model you pick, one generation and ten generations are the same gesture, which is the real reason to render a batch rather than a single hero image. For the scores behind these recommendations, read our comparison of the best AI image models for product shots.
Which approach for your product?
Cut out and re-place for anything with a clean silhouette (cosmetics, electronics, jewelry), generate the scene around a reference photo for fashion and food, and go to a 4K model for furniture and decor that will be seen large. The table routes the six most common product types to a method and to the SociaLover tools that do it.
| Product type | Recommended method | Tool |
|---|---|---|
| Cosmetics / Beauty / Fragrance | Background removal + AI placement in a scene | Background Remover + Creative Designer |
| Clothing / Fashion | AI model placement or AI flatlay | Product Studio + FLUX.2 (1K or 2K) |
| Electronics / Gadgets | Rendering on a studio background or AI lifestyle scene | Creative Designer + FLUX.2 or Kling O3 Image |
| Food / Beverages | Styled table scene or AI macro shot | Creative Designer + FLUX.2 (2K) or Seedream 4.5 |
| Furniture / Home decor | Integration into an AI interior scene | Studio Image + Nano Banana Pro or Nano Banana 2 (4K) |
| Accessories / Jewelry | Clean background + AI macro lighting | Background Remover + Studio Image |
How does the four-step workflow fit together?
One photo in, a set of placement-ready creatives out, with only the first step happening outside the browser. Prepare a clean reference photo, remove its background, generate the scene around the isolated product, then export one cut per placement and add the copy. Each step is detailed below.
Step 1: which photo do you need to start?
One sharp photo of the product on a plain background, evenly lit, filling most of the frame, at 1000 by 1000 pixels or more. A phone is enough; what matters is that the AI can read the product's edges, colors and proportions, because that reference is the source of truth every generated scene is built from.
Prepare your starting product photo
Generative AI works best with a reference product photo. Even an iPhone photo will do, as long as it meets these criteria:
Uniform background
A white, gray, or solid background. A cluttered background makes AI removal harder.
Even lighting
Avoid harsh shadows. Use soft natural light or a simple light box.
Well-framed product
The product should fill 70 to 80 percent of the frame. Avoid extreme angles.
Minimum resolution
1000 x 1000 pixels minimum. The higher the resolution, the better the AI result.
Step 2: how do you remove the background cleanly?
Upload the photo to Background Remover and check the edges. The cutout is what every later scene is built on, so a stray halo around a cap or a lost strand of a tassel will follow the product into every render; a second pass over the problem area is usually enough.
Remove the background with AI
AI background removal is the first step in any product photo workflow. It cleanly isolates your product so you can place it on any background.
Background Remover (SociaLover)
Upload your photo. The AI removes the background in seconds with pixel-level precision on complex edges (hair, transparency, reflections).
Post-removal check: zoom in on the product edges to spot any artifacts. On SociaLover, a second pass over the problem areas is usually enough.
Step 3: how do you generate the scene around the product?
Describe the scene, not the product: surface, light direction, background, mood. The isolated product goes in as a reference image (FLUX.2 accepts up to four, Nano Banana Pro and 2 and Seedream 4.5 accept them too), so the model renders the setting and leaves the packaging alone. In SociaLover, Product Studio does this with presets for scene, mood and lighting, and Creative Designer does it from a free prompt.
Generate the new AI scene or background
Once the product is isolated, you can drop it into any AI-generated scene. Here are the most effective prompt types by category:
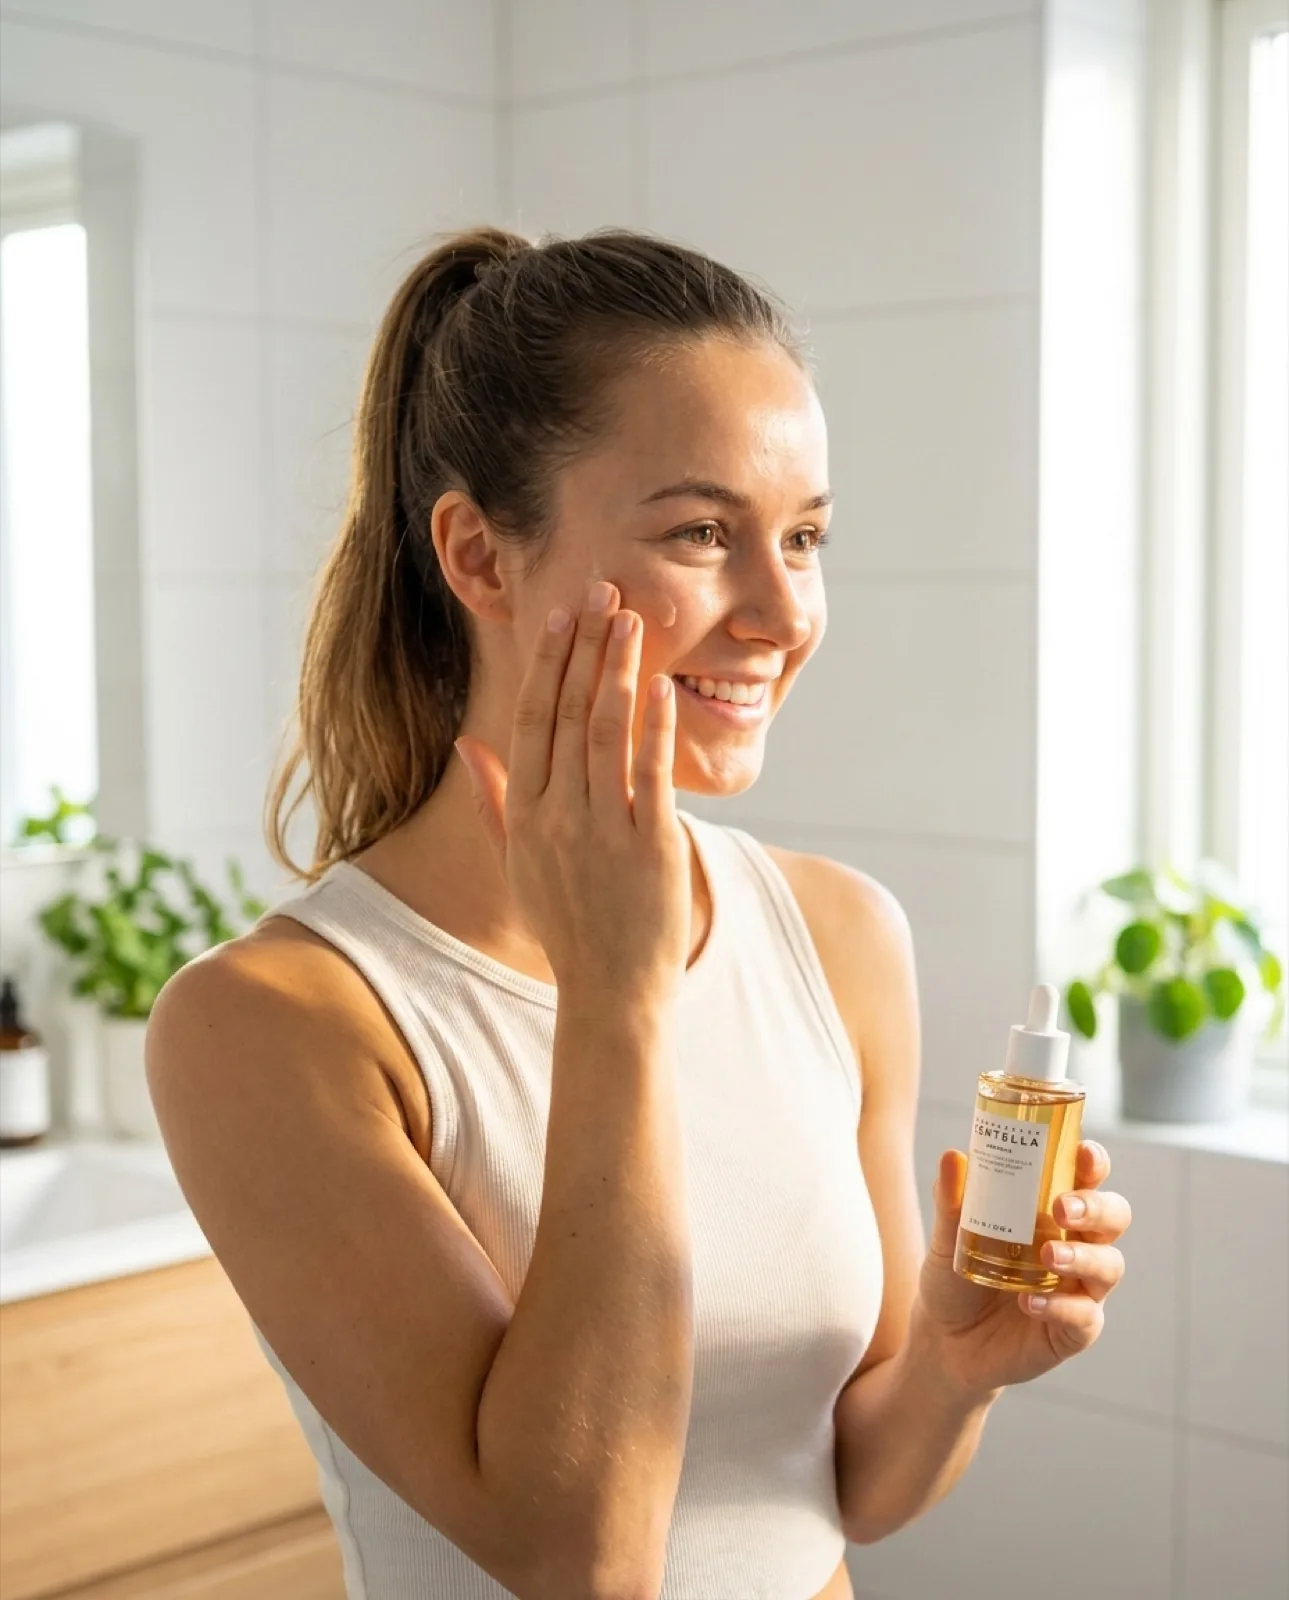
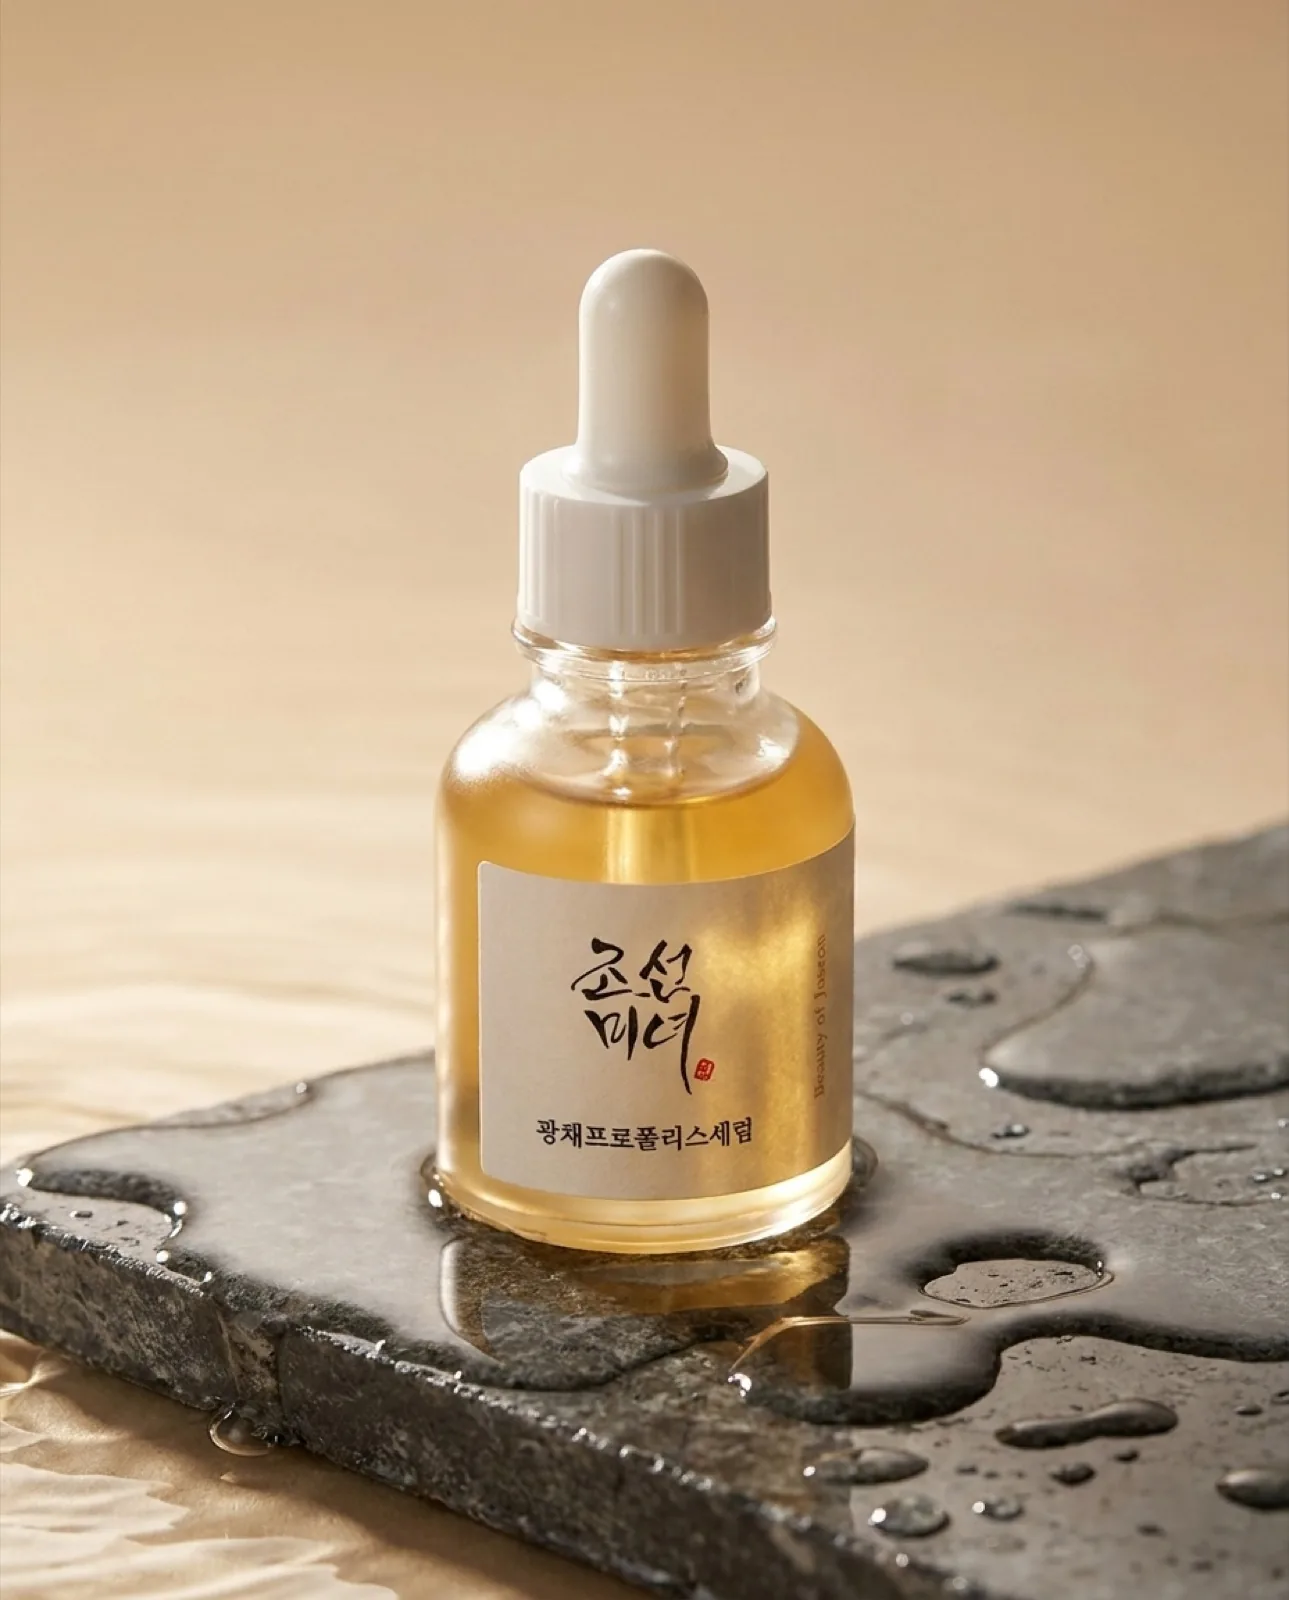
Left, the kind of shot you can get yourself with a phone and daylight. Right, a controlled scene rendered by an image model: chosen surface, chosen light direction, chosen background gradient. These are two different products. The point is the gap between what you can shoot and what you can generate, not a retouch of one into the other.
Clean studio background
E-commerce marketplaces, Amazon, product pages"Product photography, soft white gradient background, professional studio lighting, subtle shadow, high-end commercial photography"
Lifestyle scene
Meta ads, Instagram, brand content"Product placed on marble surface, morning light, coffee shop atmosphere, shallow depth of field, editorial photography style"
Seasonal scene
Seasonal campaigns, Black Friday, Christmas"Product with autumn leaves, golden hour light, rustic wooden table, cozy atmosphere, warm color palette"
Premium staging
Luxury, high-end, jewelry, fragrances"Luxury product photography, dark background, single dramatic spotlight, reflective surface, cinematic composition, Leica lens look"
Need more scene ideas? There are more product prompts by industry in our 50-prompt library, all written on the same skeleton.
Step 4: how do you finalize and export for each placement?
Check the shadow, cut one version per placement, add the copy, and generate five to ten variations rather than one. Creative Resizer handles the formats, and Image Enhancer adds definition when a close-up has to hold up at 2K or 4K.
Finalize and optimize for advertising
The generated image often needs a few final tweaks before it is ready for advertising:
Check that shadows are consistent
The product's shadow must match the direction of the light in the scene. An inconsistent shadow instantly gives away the AI composite.
Adjust dimensions for each platform
Meta Feed: 1:1 (1080x1080) or 4:5. Stories and Reels: 9:16 (1080x1920). Google Display: 1.91:1 (1200x628). Use the Creative Resizer.
Test several variations
Generate 5 to 10 variations of the same image with small changes to the background and lighting. The performance gaps between variations are often surprising.
Add the text and CTA
Overlay text must stay readable on every background. Add a semi-transparent rectangle for contrast if needed. Keep the text light: Meta no longer enforces a hard percentage, but its guidance still favors images with little text.
The still image is also the first frame of a video: read how to animate the product photo into a video ad with Kling 3.0, Veo 3.1 or Seedance 2.5.
Amazon, Shopify and Meta requirements
A generated product image has to meet the same rules as a photographed one, and the main image on a marketplace is where those rules bite. The notes below are a working summary as of September 2026; each platform publishes its own image requirements and updates them, so check the current version before a listing or a campaign goes live.
- Amazon: the main image shows the actual product on a pure white background, filling most of the frame, with no text, logos, props or watermarks; lifestyle scenes, close-ups and text belong on the secondary images. Requirements vary by category, so read the ones for yours.
- Shopify: no platform-imposed rule, but a store looks professional when every product in a collection shares the same ratio (square is the common default), the same background and the same light, which is exactly what a fixed prompt and a fixed reference photo give you.
- Meta: use 1:1 or 4:5 in the feed and 9:16 in Stories and Reels, keep the top and bottom of vertical placements clear of copy because the interface sits there, and keep on-image text light. Meta stopped enforcing a hard percentage but still favors images with little text.
- Everywhere: the image must represent the product faithfully. A generated scene is fine; a generated product that differs from what ships (color, size, accessories) is a returns problem and, on marketplaces, a policy problem.
Which model for which product?
FLUX.2 for the packshot, Nano Banana Pro for 4K and edits, GPT Image 2 when text has to appear on the packaging, Seedream 4.5 for lifestyle scenes. That is the short routing; the reasoning is below, and the full scoring is in our comparison of the best AI image models.
| Situation | Start with | Why |
|---|---|---|
| Packshot on a plain or gradient background | FLUX.2 (1K to draft, 2K to deliver) | The best texture and material rendering of the catalog, and up to four reference images to hold the product |
| Large-format creative, print, 4K screen | Nano Banana Pro or Nano Banana 2 | Native 4K on both; Pro for the higher quality tier and editing, 2 at about half the price |
| Text on the packaging or a headline in the frame | GPT Image 2 (high) or Nano Banana Pro | The two models in SociaLover that spell words reliably; spell the exact words in quotes |
| Lifestyle and styled table scenes | Seedream 4.5 | A warmer, more editorial reading of the same brief, in 2K or 4K at a flat price |
| A change on a render you already like | FLUX Kontext | One instruction, no mask: new surface, new light or new background, same product |
| Consistent series across many SKUs | Kling O3 Image or FLUX.2 with the same reference | Strong consistency between renders when the prompt and the reference stay fixed |
For the wider catalog strategy, from packshots to descriptions and product videos, read our e-commerce content strategy guide.
Prompt examples by industry
Four prompts, one per common product category, each describing the scene and the light rather than the product itself. Paste them with your product photo attached as a reference, then change one clause at a time to build the variations of step 4.
Face cream / Serum
Elegant beauty product photography, glass serum bottle, white marble surface, soft natural light from left, fresh green leaves accent, minimalist composition, luxury skincare brand aesthetic
Sneakers / Shoes
Sneaker product photo, floating shoe on gradient pastel background, dramatic side lighting, subtle shadow below, clean modern composition, sports brand catalog style
Supplements / Nutrition
Health supplement packaging, clean white studio background, professional product photography, gym equipment blurred in background, energetic color grade, fitness brand aesthetic
Candles / Home decor
Candle product photo, cozy living room corner, warm amber light, soft bokeh background, wooden tray with dried flowers, hygge atmosphere, editorial lifestyle photography
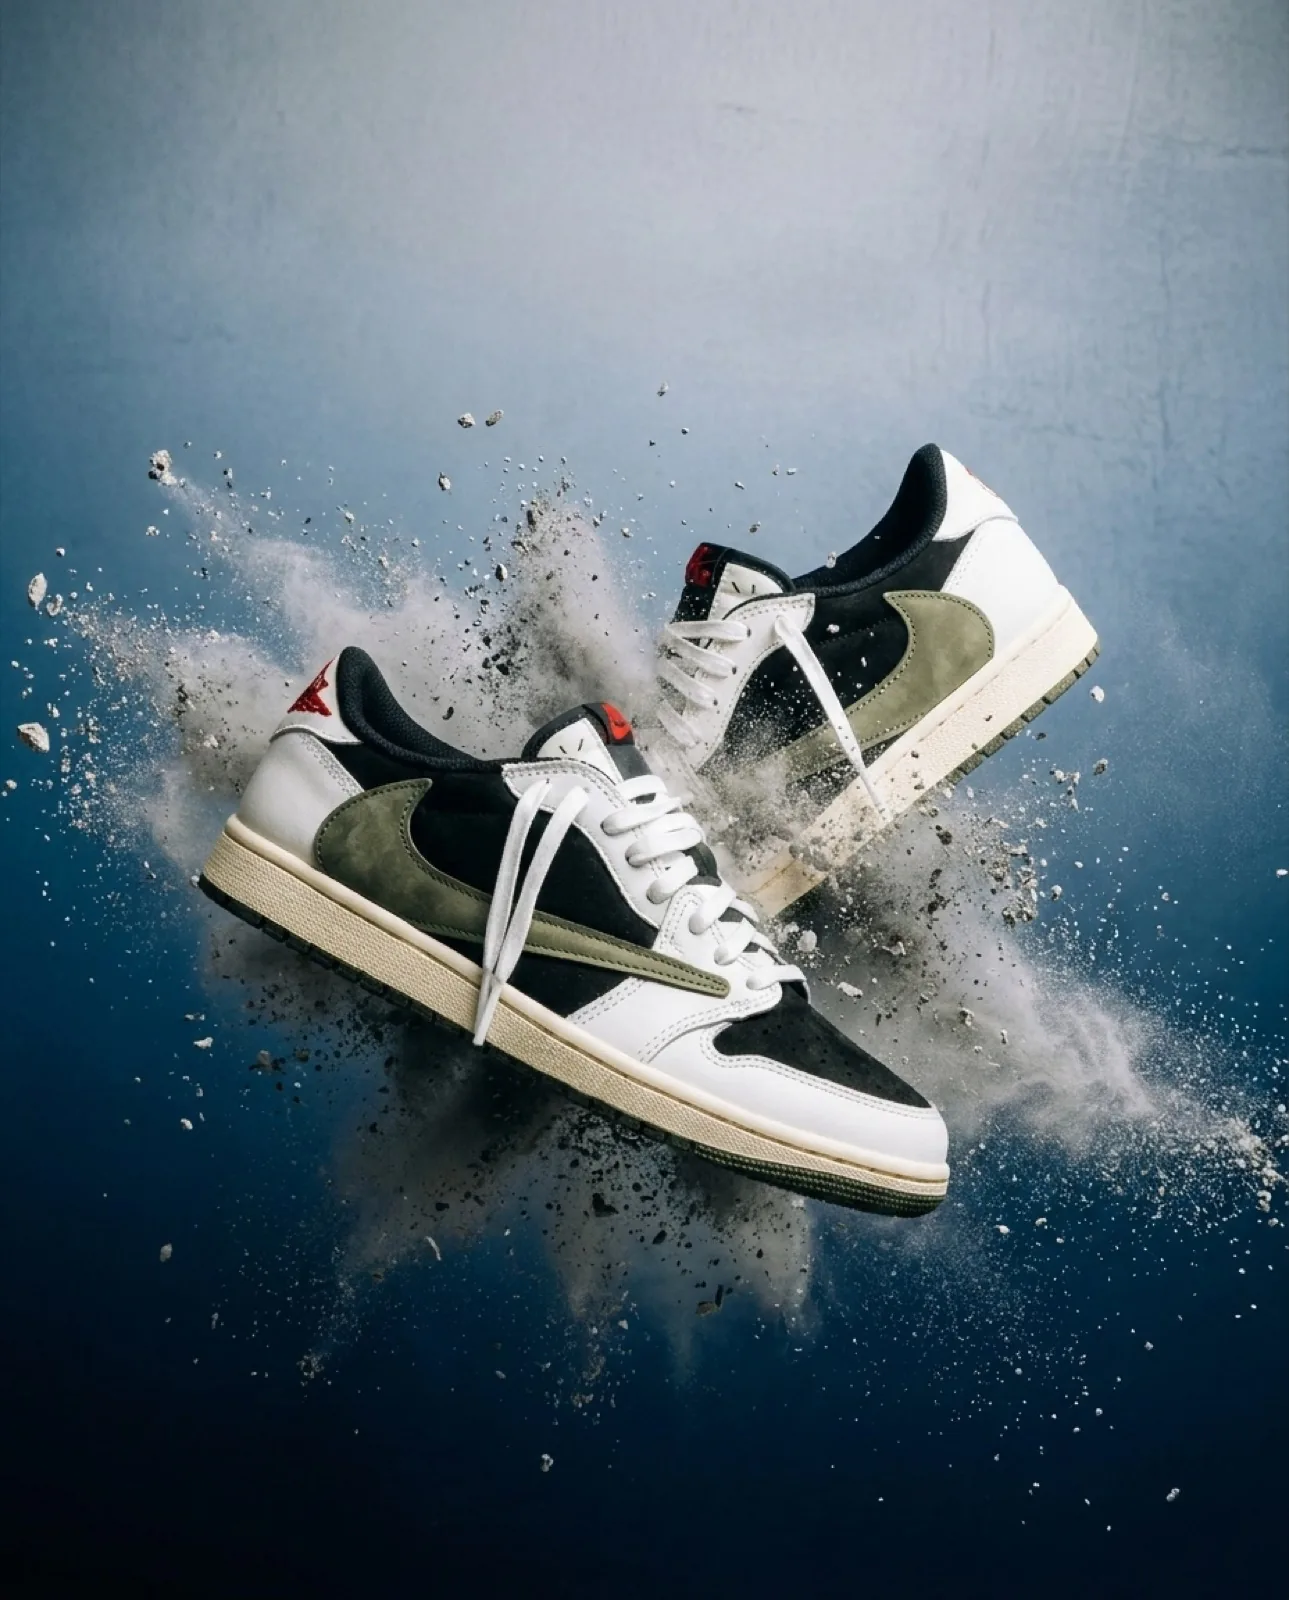
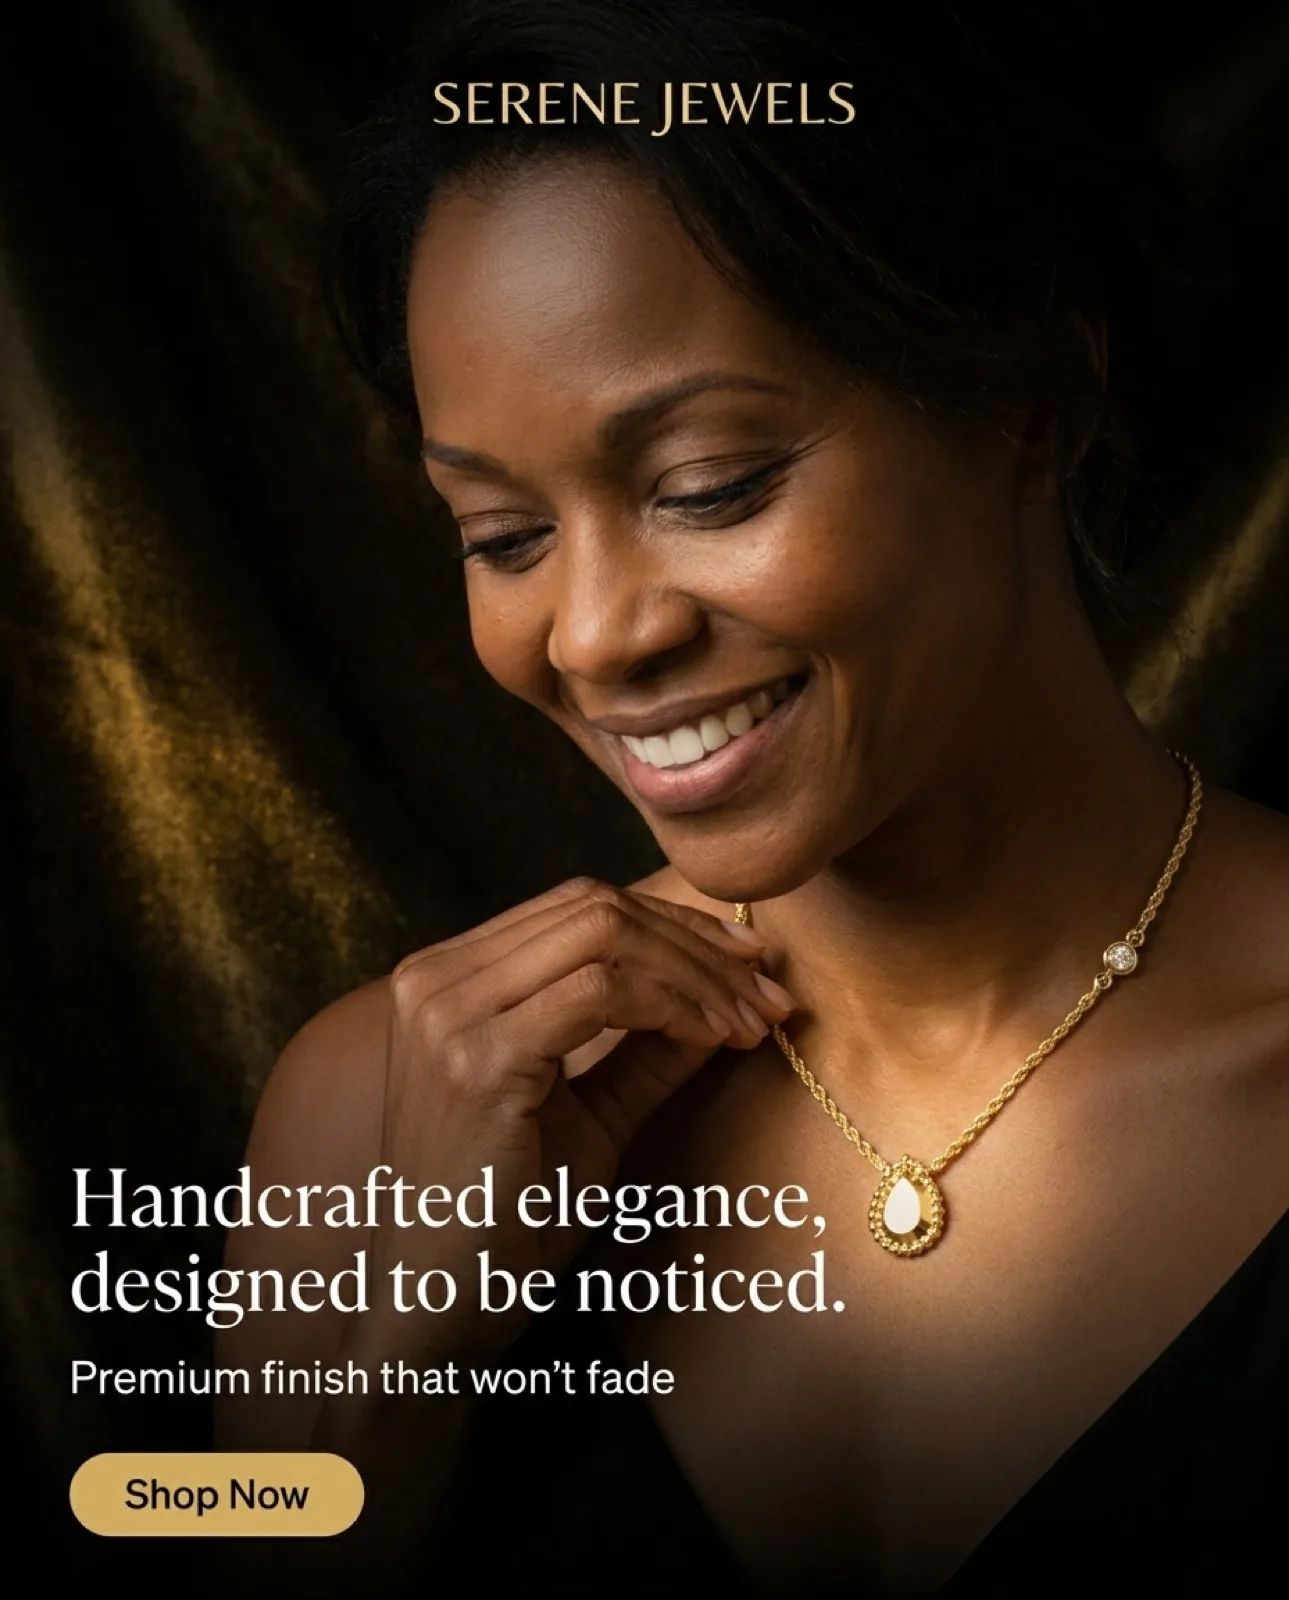
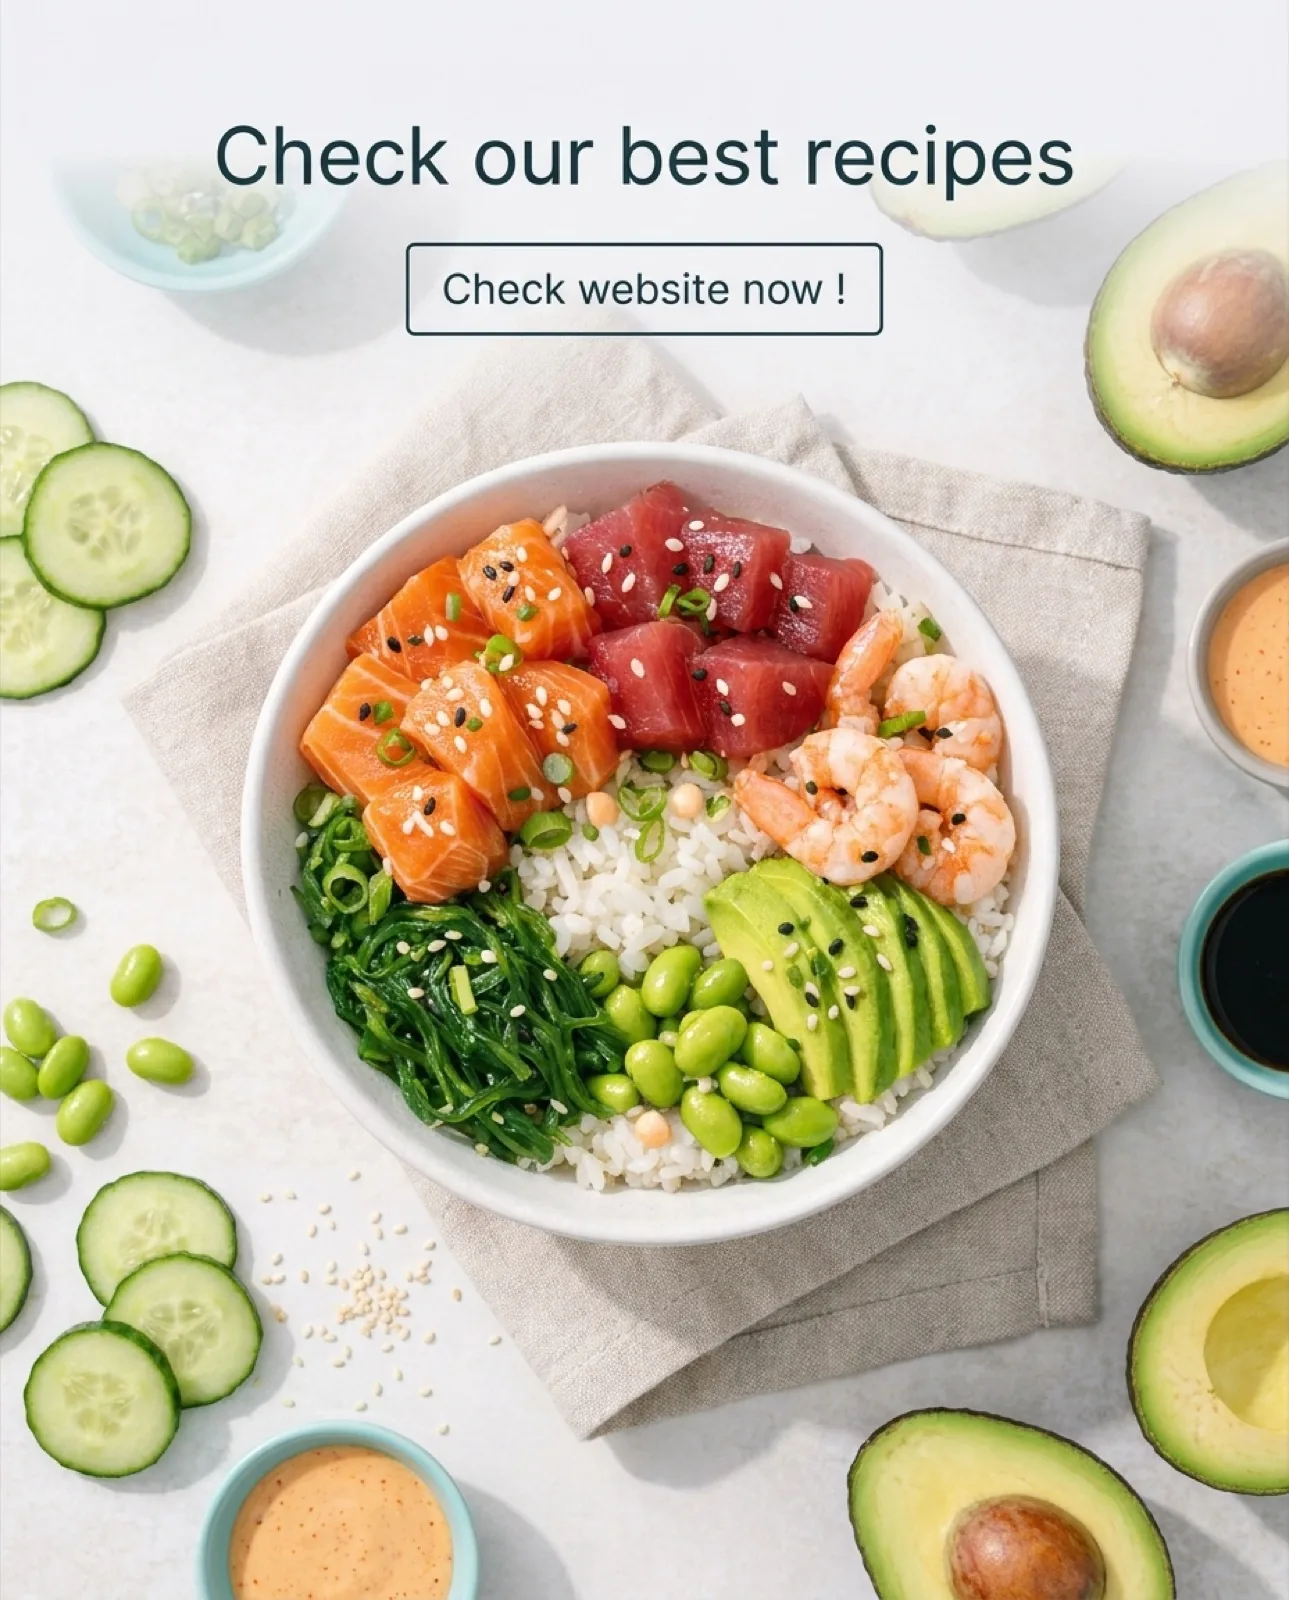
The prompt families above, rendered. The serum keeps a minimalist composition and one soft light source; the sneakers sit on a gradient with dramatic side lighting and a subtle shadow; the necklace uses the premium-staging recipe, dark background and a single dramatic spotlight; the poke bowl is a styled table scene that already carries its overlay text and CTA from step 4. These are creatives produced on the platform, not the literal output of the prompt strings above.
Frequently asked questions
- Which model should I use to generate a product image?
- It depends on the render you need. FLUX.2 is the packshot default, in 1K to draft and 2K to deliver, with up to four reference images to hold the product. Nano Banana Pro and Nano Banana 2 render natively in 4K when the creative has to hold up large, GPT Image 2 and Nano Banana Pro put legible text on the packaging, Seedream 4.5 gives a warmer reading of a lifestyle brief, and FLUX Kontext edits a render you already like. All are billed in tokens included in your plan.
- Do I need a real photo of my product to start?
- Yes, one. Generative AI works best with a reference product photo, and even an iPhone shot will do. Four things matter: a uniform white, gray or solid background, even lighting with no harsh shadows, a product filling 70 to 80 percent of the frame, and a resolution of at least 1000 x 1000 pixels. That photo is the source of truth every generated scene is built from.
- Can AI keep my product exactly identical across scenes?
- Close to it, with a reference image. Attach the cutout of your product in FLUX.2, Nano Banana Pro or 2, Seedream 4.5 or Kling O3 Image and describe only the scene: the packaging, label and proportions stay put while the surface, light and background change. Without a reference, the model redraws the product slightly differently every time. Fine detail (engraved text, facets, screens) can still drift, so check every render before it ships.
- Which products are still hard to generate?
- Anything built on fine, high-frequency detail: faceted jewelry whose reflections get reinvented, watch dials with indices and micro-text, electronics whose screen interface is regenerated rather than reproduced, transparent glassware where refraction rarely holds together, and clothing worn on a body, where flat lay remains the safer route. For those, shoot the product once and use that photo as the reference; the scene around it can still be generated.
- Is AI product photography allowed on Amazon?
- The rules are about the image, not about how it was made: the main image must represent the actual product faithfully, on a pure white background, filling most of the frame, without text, logos or props. A generated scene is acceptable on the secondary images as long as the product shown is the one that ships. Requirements differ by category and change over time, so check Amazon's current image requirements for yours before listing.
- Do I still need a photographer?
- For one photo, yes: the clean reference shot the whole workflow is built from, and any product whose fine detail AI reinvents (faceted jewelry, watch dials, screens). What you no longer need is the second, third and tenth setup: the location rental, the reshoot for each season and the per-photo retouching, which is where the one to three days and the $500 to $5,000 in the quotes we received went. A phone and daylight cover the reference for most products.
- How do you spot an AI composite?
- Usually by the shadow. The product's shadow has to match the direction of the light in the generated scene; an inconsistent shadow gives the composite away instantly. The second giveaway is the cutout edge, so zoom in on the product outline after background removal and run a second pass over any problem area.
- How many variations should I generate for one product?
- Five to ten variations of the same image, changing only the background and the lighting a little each time. The performance gaps between variations are often surprising, and rendering the batch is the same gesture as rendering one: five to thirty minutes, against one to three days for a second shoot.
- Which image size should I export for each platform?
- Meta Feed in 1:1 at 1080 x 1080 or in 4:5, Stories and Reels in 9:16 at 1080 x 1920, Google Display in 1.91:1 at 1200 x 628. Creative Resizer handles the conversions. Keep any overlay text light and add a semi-transparent rectangle behind it if the background hurts readability; Meta no longer enforces a hard text percentage but still favors images with little text.
Conclusion
In 2026, AI product photography is no longer optional. It is a competitive edge. A brand that can generate 20 product photo variations in 30 minutes tests and optimizes faster than one waiting for its next photo shoot.
SociaLover combines Background Remover, Product Studio, Creative Designer and Creative Resizer in a single place, from raw product photo to launch-ready creative, without leaving the browser.